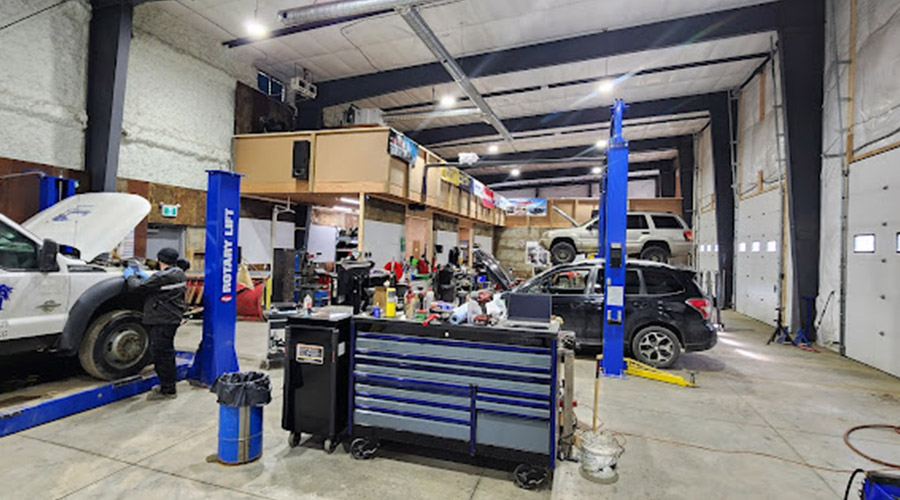
- Automotive Services
- Air Conditioning Repair
- Battery Service
- Brake Service
- Carburetor Repair
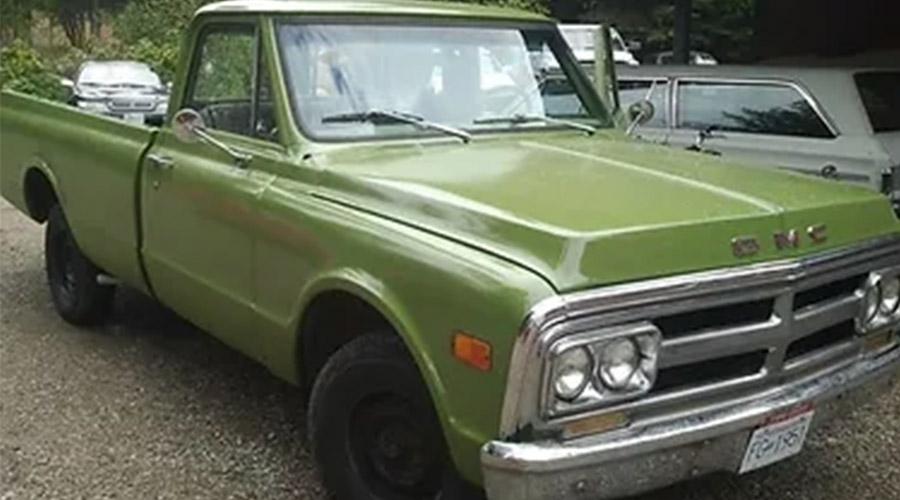
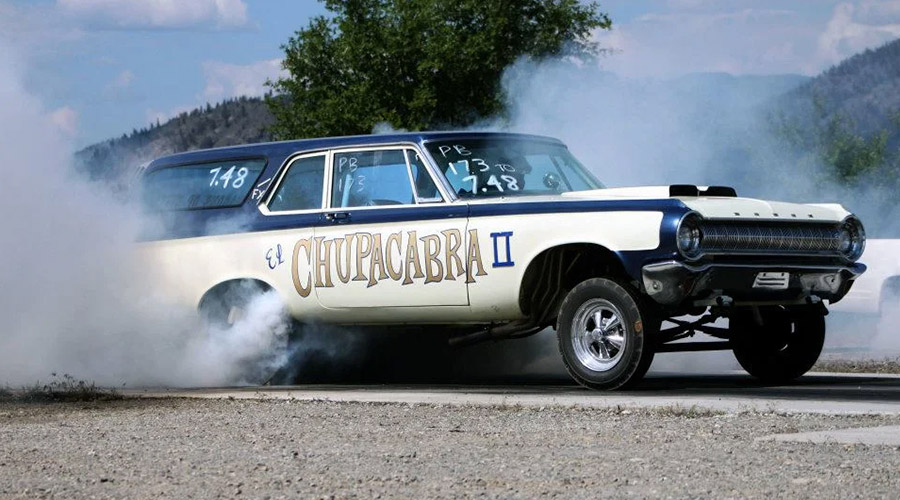
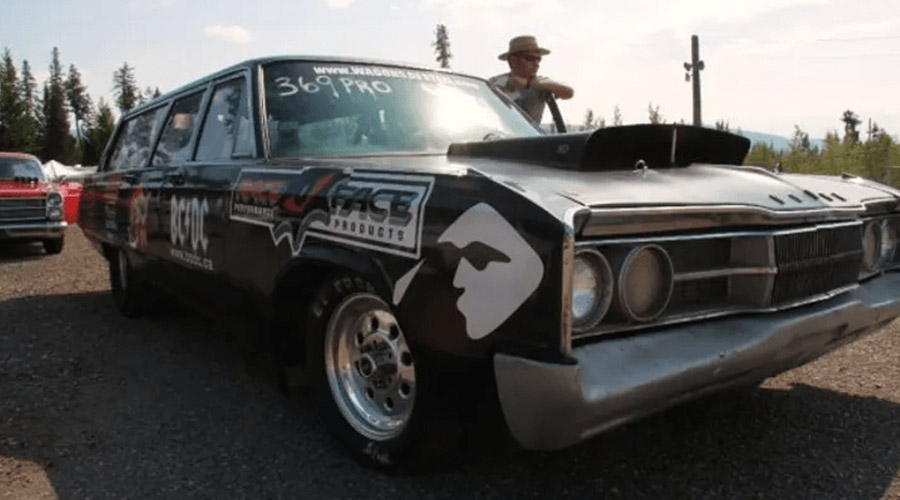
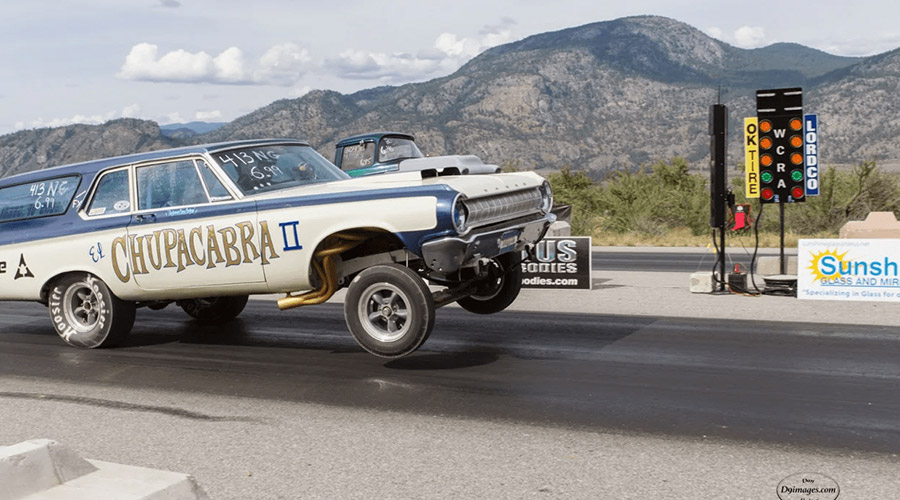
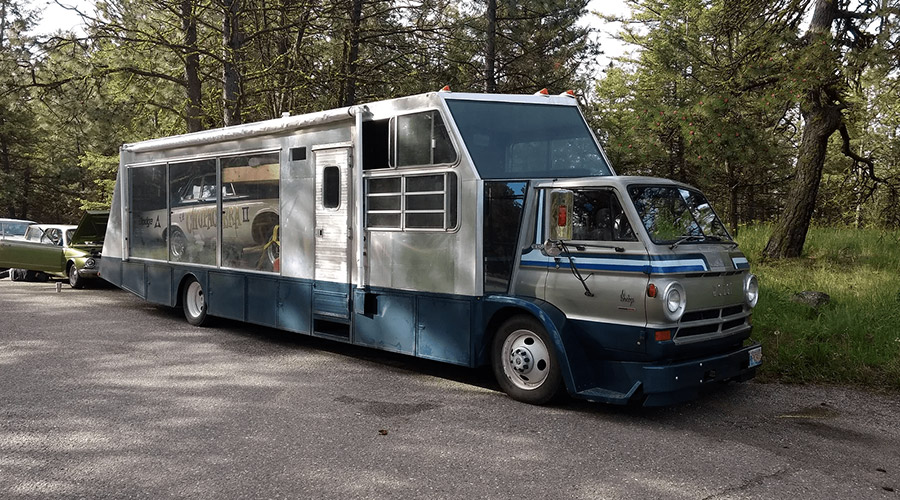
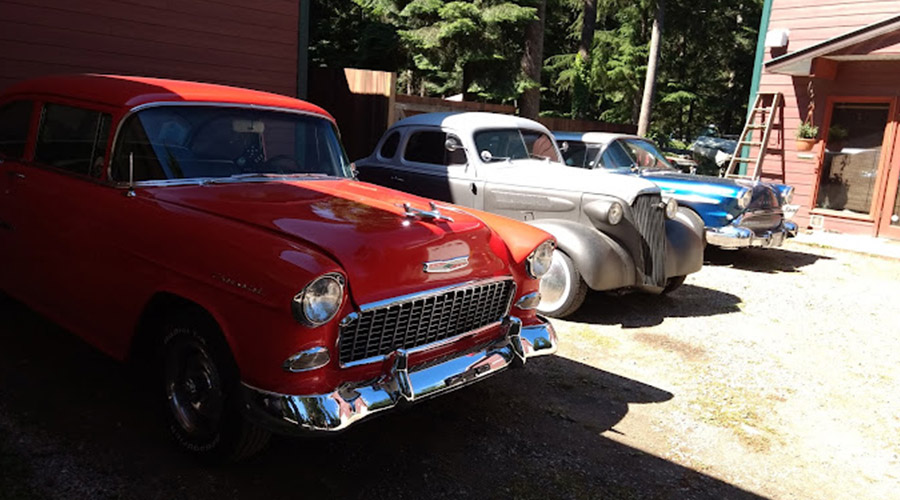
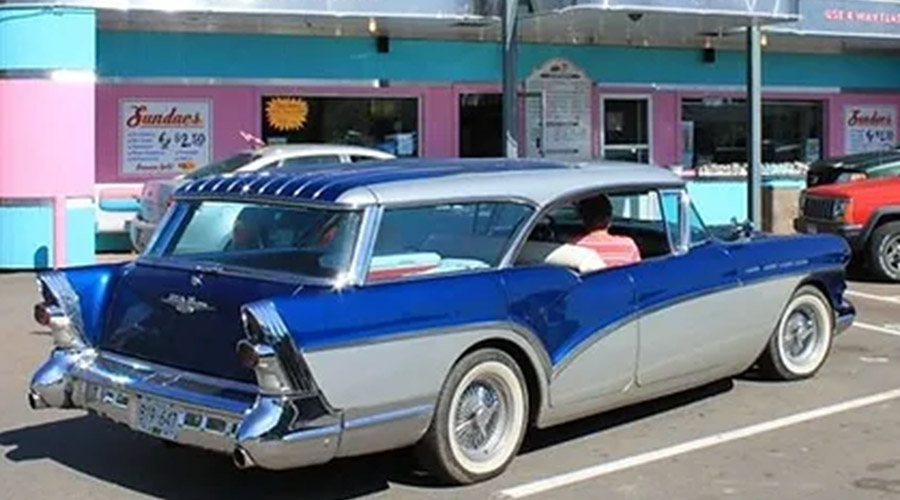
- Classic Car Repair
- Diesel Engine Services
- Differential Service
- Digital Vehicle Inspections
- Engine Repair
- Engine Swap
- Exhaust Service
- Factory Scheduled Maintenance
- Hybrid/EV
- Oil Change
- Out of Province Inspection
- Powerstroke Repair
- Steering & Suspension
- Transmission Repair
- Vehicle Diagnostics
- Wheel Alignments
- Vehicles We Service
- COMMERCIAL & RECREATIONAL
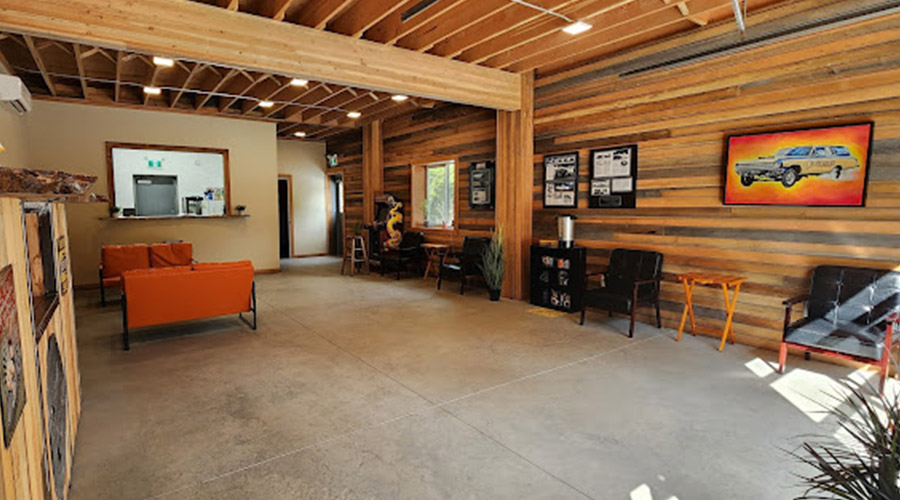
- About Us
- Contact Us